
Who doesn't love a cooking project?
Especially the kind that takes up a whole afternoon on a snowy day in February. That's why last week, when I found out that Denver was going to get buried in snow, I started hunting for recipes. Blood orange recipes. Because let's just admit that the awesomest thing about winter is citrus season.
I wanted to find uses for both the juice and the beautiful, flavorful peel of the Blood Orange, root to stem style (it's kind of our thing!). If you don't feel like tackling the whole project at once, though, these recipes can easily be approached in stages. Try the curd one day and reserve the peels for later - they'll keep in the fridge for at least a couple weeks and probably longer than that. Don't have a dehydrator? You can candy your citrus peels instead! Don't feel like doing that, either? Make this crazy-simple homemade Citrus Vinegar multi-purpose cleaner. There, no more excuses for throwing away that gorgeous peel.

You can turn just about any sour (or sweet & sour) fruit into a curd, like this rhubarb curd I love to make in the spring. Blood orange is no exception! Although if you had any hopes of a dramatic fuchsia colored concoction, as I did, you'll be surprised by the subtle, peachy hue that results after cooking the curd. It's not as dramatic as the color of the juice but it's still quite pretty. And more importantly, it tastes really good. To be honest, Obe and I can't resist eating this stuff by the spoonful, but it's also quite wonderful with scones, toast, beignets, or even used as a sweet dip for apple slices.
Blood Orange Curd (adapted from The Tart Tart)
fills 5 4-oz jars
Ingredients:
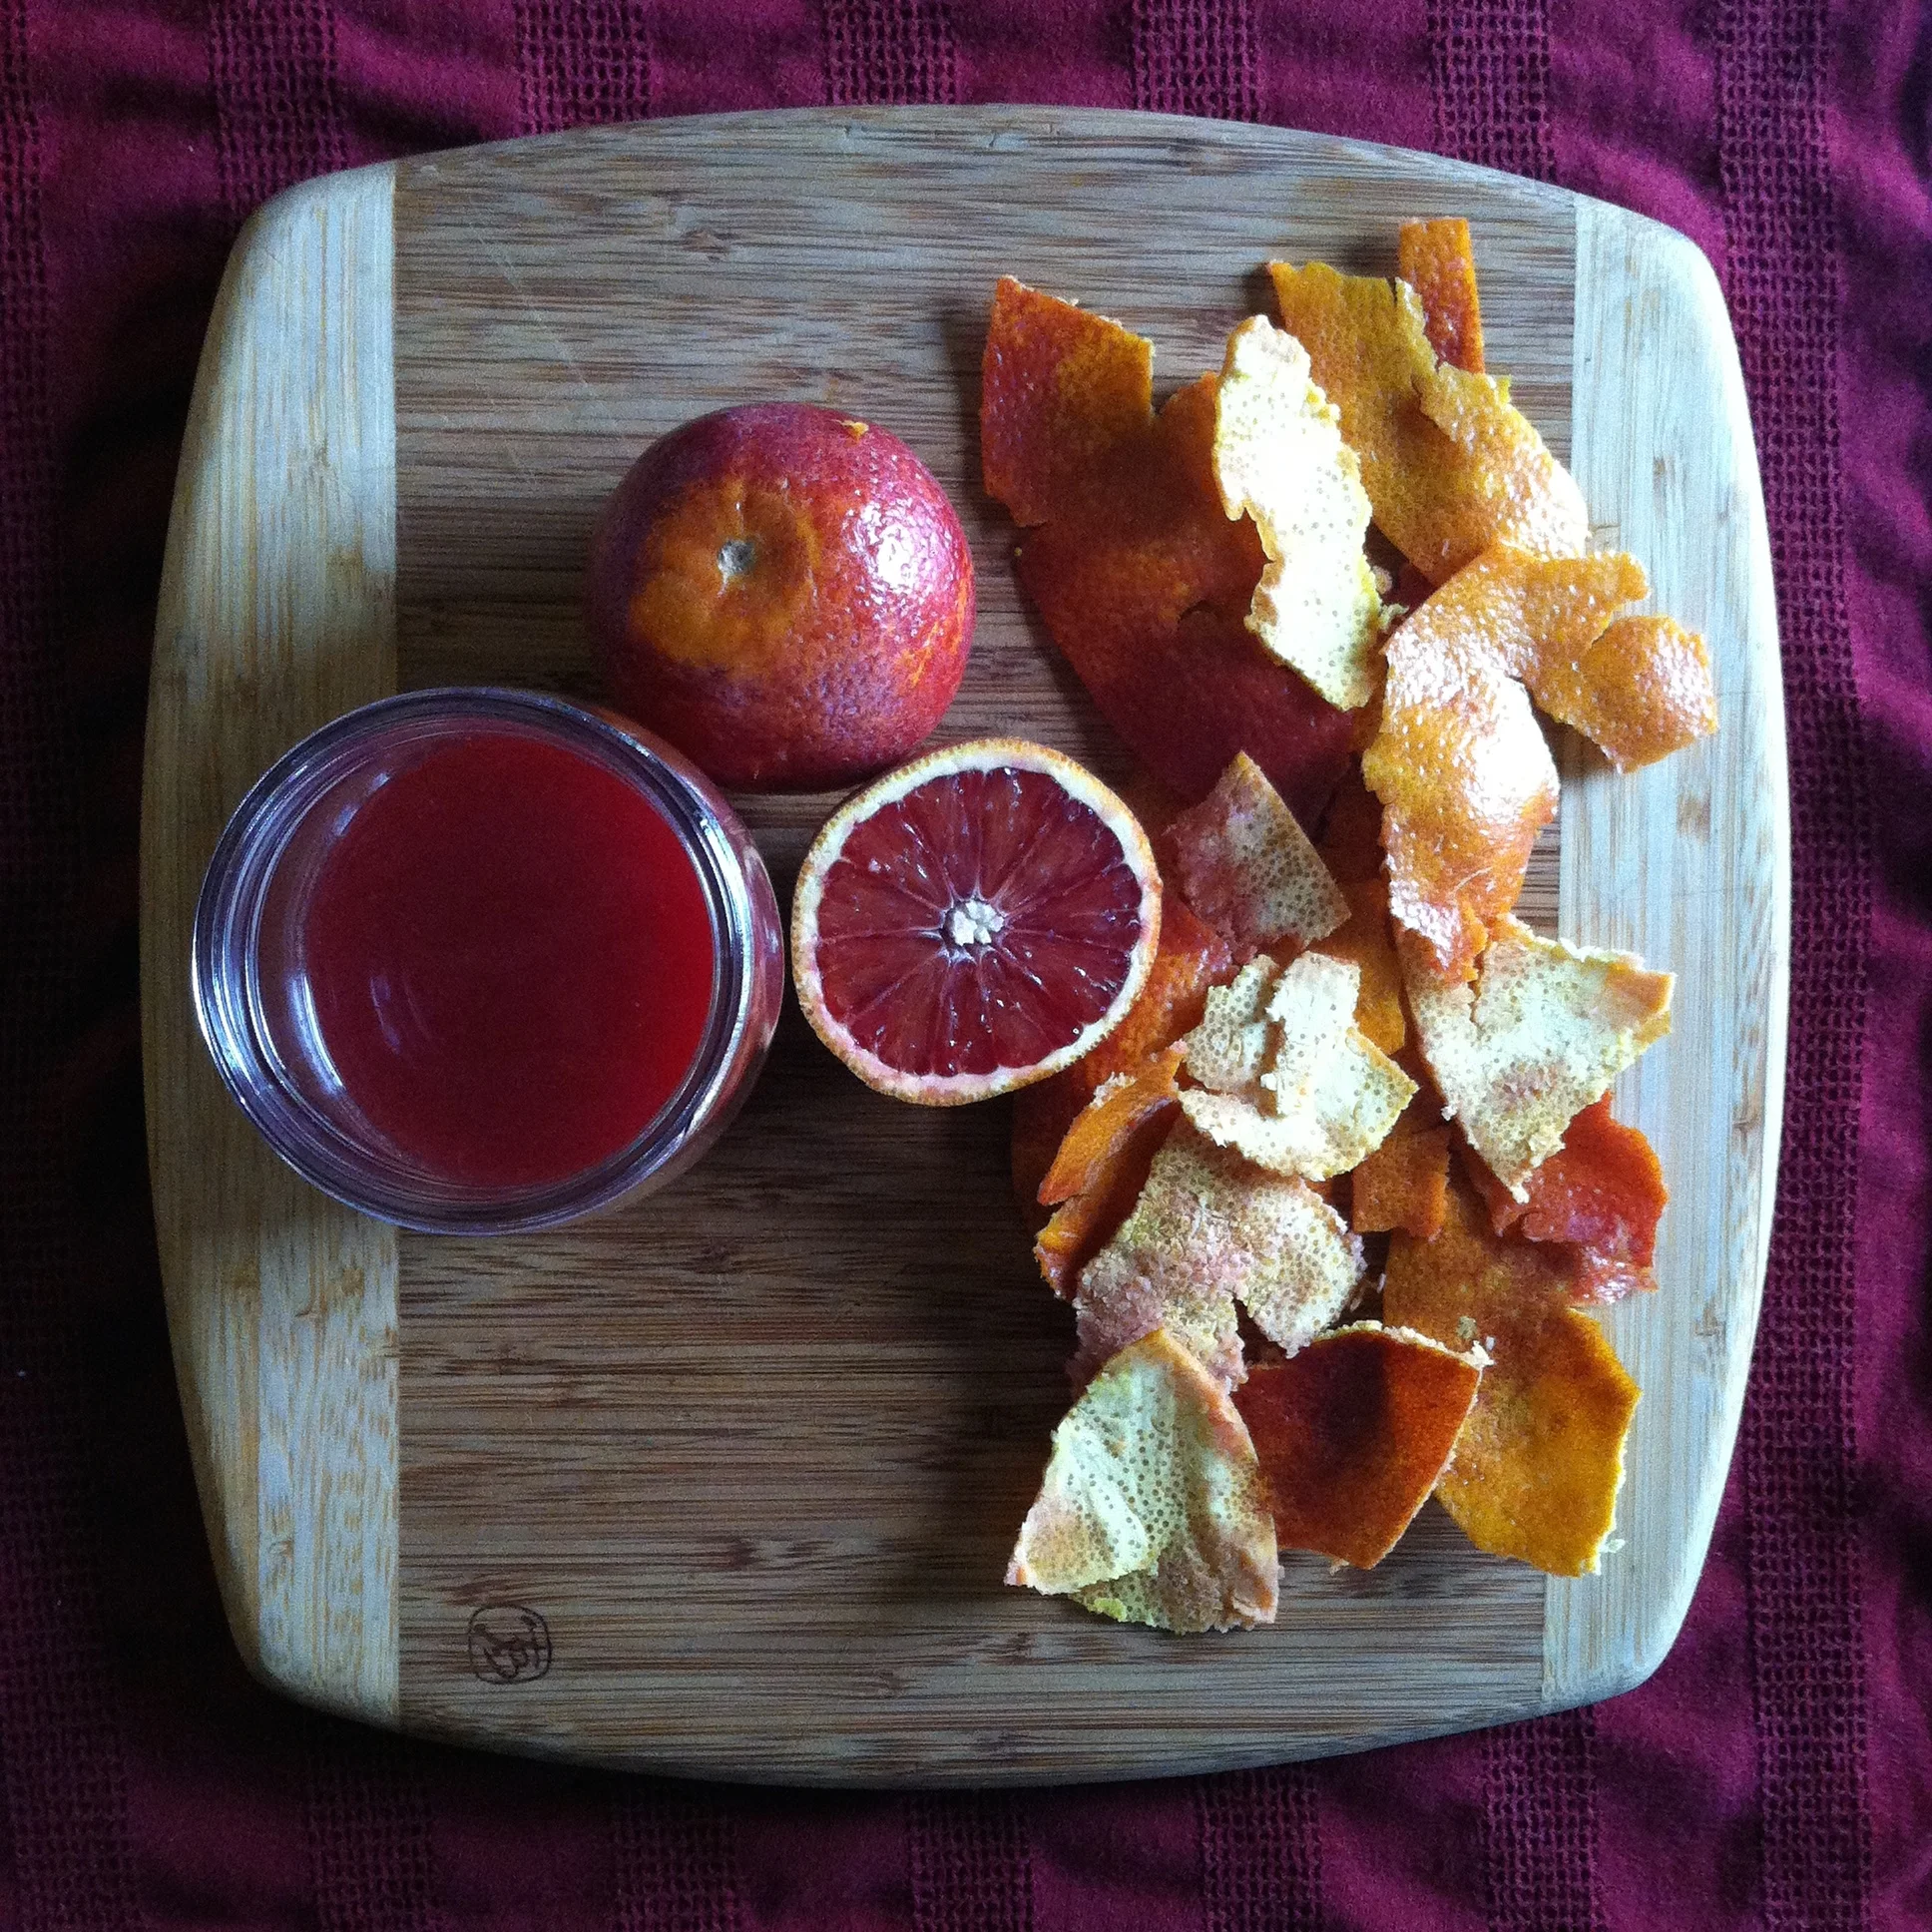
3/4 cup Blood Orange juice (about 7 small blood oranges - reserve peel for future use)
1/4 cup Lemon Juice (about 2 large lemons - reserve peel for future use)
1 cup sugar
12 egg yolks
8 T butter, diced into cold cubes
Directions:
- Whisk together all your ingredients in a medium saucepan over low heat. Continue to whisk constantly as you slowly cook the curd until it starts to thicken. If it doesn't thicken after 10 minutes or so, raise your heat just a little and cook until the mixture is pudding-like in consistency (or, you can use a thermometer and cook until it reaches about 160 degrees).
- Portion into jars and allow to cool. Secure with lids and refrigerate until ready to use.

Once you're ready to use those peels, I just love this clever recipe for dehydrated citrus peel from the Bar Tartine cookbook, written by the owners of the famous San Francisco restaurant. If you are a technique geek like me and you love finding uses for random stuff like leftover citrus peels, you should run to your nearest book store and purchase it immediately. It has instructions for everything from homemade Bottarga to smoked onion powder (I'll be testing that one out shortly because OMG doesn't it sound amazing?) plus a bunch of recipes to put all their wacky ingredients to good use. The authors say that the peel will keep for a solid 9 months and has a multitude of uses, such as blending with tea, processing into a powder and using in spice mixes or desserts, blending into homemade granola and more. We are planning on turning our peels into powder and mixing with powdered sugar to dust on some fresh beignets. Heck, Obe even likes to munch on the dried peels all by themselves! You just do you.
Dried Citrus Peel (adapted from Bar Tartine by Nicolaus Balla and Cortney Burns)
Ingredients:
Assorted Citrus Peels
Directions:
- Bring a large saucepan filled with water to a boil. Add the peel and boil for 1 minute. Drain, rinse under cold water and repeat this step two times. (If you prefer to skip the boiling step, you can carefully remove the bitter pith - the spongy white flesh attached to the peel - with a sharp knife and follow remaining instructions for dehydrating).
- Arrange peels on dehydrator trays and place in dehydrator. Set to 125 degrees. When peels are brittle and completely dry (18 to 24 hours, or about 12 if you remove the pith first and you live in a super dry climate like Denver's), remove and store in an air tight container until ready to use (up to 9 months).