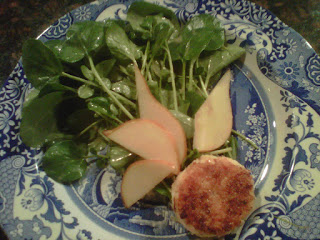
Pesto really is one of Italy's greatest culinary gifts to the world. The uses for it are quite possibly endless, it's incredibly simple to make, and it makes any pasta dish taste downright sexy! I love to create unusual pestos using somewhat unexpected ingredients and watercress definitely fits the bill. I've seen a lot of recipes for ramp pesto that I've found quite pleasing, but I wanted to create something sweeter and gentler - consider it a "Thinking Man's" pesto, if you will. The subtle hint of mint with the sharp, spicy taste of ramps become absolutely elegant mixed with the sweet, refreshing, and peppery taste of watercress. Use it in the pasta recipe below, spread it on your toast with a little ricotta cheese, thin it with extra olive oil and lemon juice to make a dynamite dressing, or come up with your own fabulous way to enjoy it!
Spring Has Sprung Pasta and Pesto, Part Deux
serves 6
Pasta:
1 lb. Pasta (any kind will do! I used whole-wheat spaghetti)
1 1/2 cups fiddleheads, rinsed
10 oz (1 package) frozen peas
1 1/2 T butter
salt and pepper to taste
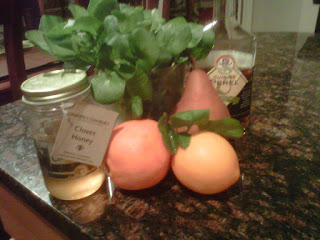
Pesto:
1 bunch (5-7 stalks) ramps
1 bunch watercress leaves (about 4 cups), rinsed well
1 cup mint leaves
1/2 cup pine nuts
1/4-1/3 cup olive oil
1/3 cup Parmigiano Reggiano cheese, freshly grated
salt and pepper to taste
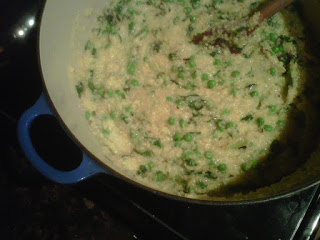
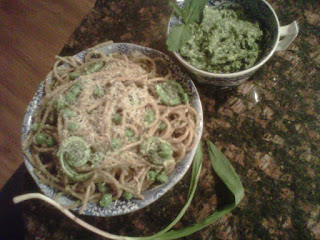
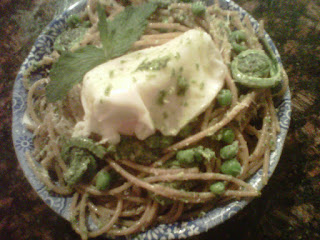
Bring a large pot of salted water to a boil and add pasta. When pasta is about 2 minutes from being done (still crunchy in the middle but pliable in texture) add the fiddleheads to the boiling water. Cook for a minute and a half or so, then add the frozen peas. Cook for another 30 seconds to 1 minute, then drain.
Meanwhile, assemble the pesto. In a food processor, add ramps, watercress, mint and pine nuts. Pulse a few times and then set the processor to "on". Slowly drizzle enough olive oil for the pesto to be slightly moist and hold together. When pesto is blended, add cheese, salt and pepper and mix to combine. Set aside.
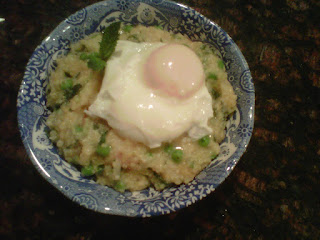
In a large bowl, toss about 1 cup of pesto (or more, if desired), butter, and pasta together until the butter is melted. Season with salt and pepper and serve with a grating of Parmigiano Reggiano cheese on top (and a poached egg, if that's how you roll).